If you are looking for a way to give your brick fireplace or exterior walls a fresh new look, whitewashing is the perfect solution! Whitewashing is the process of applying a thin layer of paint or whitening agent to a surface. In this article, we will provide step-by-step instructions on how to whitewash brick. We will also provide a project summary and list the tools that you will need for the job. So, if you’re ready to give your brick fireplace or exterior walls a fresh new look, keep reading!
Table of Contents
Why Whitewash Brick?
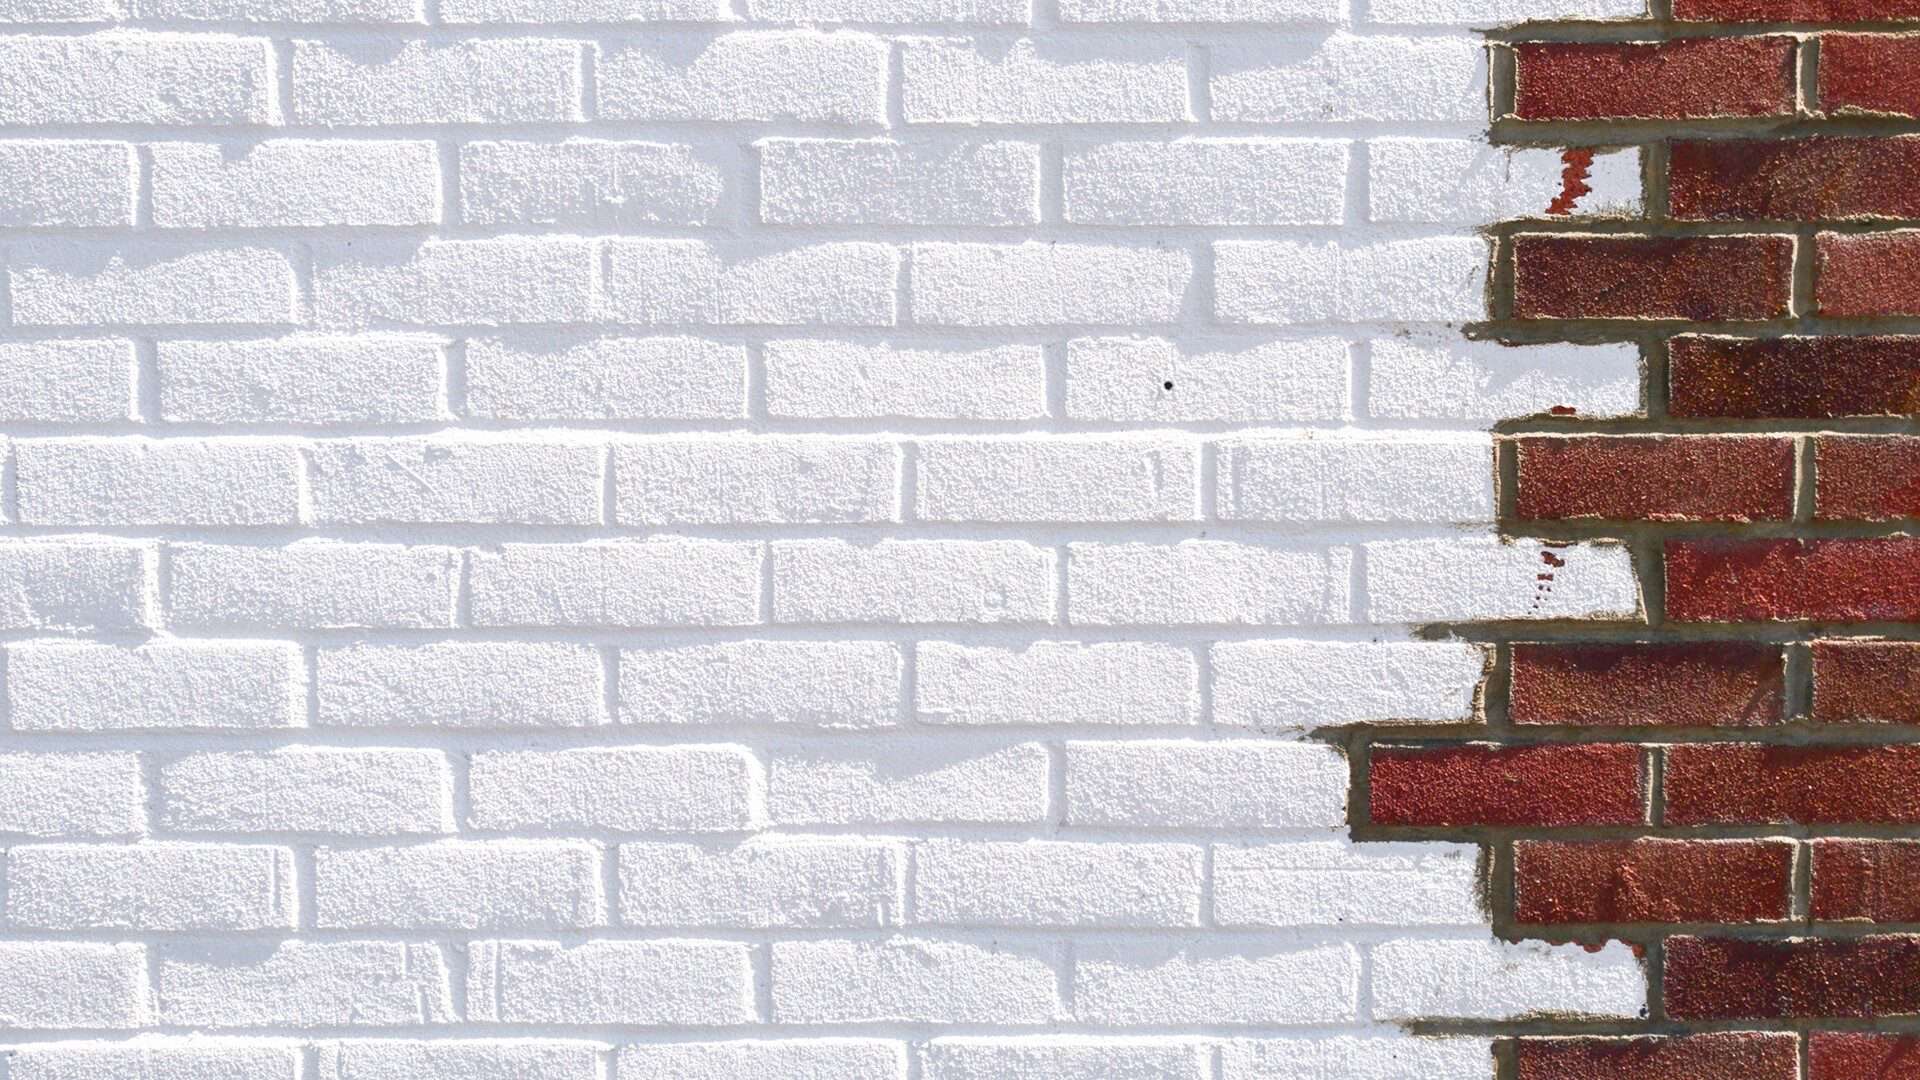
Exposed brick can give any room a rustic, industrial feel. But sometimes, that brick can look a little too rough around the edges. Whitewashing brick is a great way to soften the look of brick and give it a more distressed, shabby chic appearance.
If you’re looking for a way to change up the look of your home without making a major renovation, whitewashing brick is a great option! It’s an easy and relatively inexpensive project that can make a big impact.
It is also a great way to update an old or outdated fireplace. Whitewashing is a relatively simple and inexpensive project that can be completed in just a few hours.
Tools Required
- Paintbrush
- Painter’s tape
- Drop cloth
- White latex paint or whitewash solution
- Scrub brush
- 1 Gallon Bucket
- N95 mask
- Rubber gloves
- Protective eyewear
- Paint brush
- Rags
- Floor cover
- Dish soap
- Boric Acid (optional for tougher cleaning)
- Ammonia (optional if more thorough cleaning is required)
Quick Project Summary
- Start by cleaning the brick surface that you will be whitewashing.
- Then, tape off any areas that you do not want to get paint on.
- Next, mix your whitewash solution or paint.
- Once the solution is mixed, apply it to the brick surface using a brush.
- Finally, remove the tape and allow the whitewash to dry.
Read the following for detailed instructions on how to mix a whitewash solution.
How to Whitewash Brick Step-by-Step Instructions
Step 1: Clean the Brick Surface
Start by cleaning the brick surface that you will be whitewashing. This is an important step because it will ensure that the whitewash adheres properly to the surface.
To make a cleaning solution that is effective we will list the mildest to toughest cleaning solutions:
Dish soap and water:
This should be your go-to for general cleaning. Create a sudsy solution using dish soap and warm water. Apply the solution to the brick surface using a scrub brush. Rinse the surface with clean water when finished.
Boric acid:
If you have tougher stains, you can make a cleaning solution using boric acid and water. Mix one part boric acid with three parts water. Apply the solution to the brick surface using a scrub brush. Rinse the surface with clean water when finished.
Ammonia:
For more stubborn stains, you can make a cleaning solution using ammonia and water. Mix one part ammonia with three parts water. Apply the solution to the brick surface using a scrub brush. Rinse the surface with clean water when finished.
Make sure to wear the appropriate safety gear when working with any cleaning solutions that contain chemicals.
Step 2: Tape Off Any Areas That You Do Not Want to Get Paint On
Once the brick surface is clean, you will need to tape off any areas that you do not want to get paint on. This includes baseboards, trim, windows, doors, and anything else that you do not want to get paint on.
Make sure to also protect your floors and surrounding area by covering them with a drop cloth or tarp.
Step 3: Mix Your Whitewash Solution or Paint
There are two options for whitewashing brick – you can either use white paint or make a whitewash solution.
To make a whitewash solution, mix one-part white paint with one part water. If you are using latex paint, you will also need to add a tablespoon of liquid dish soap to the mixture. This will help the whitewash solution to adhere better to the surface. Stir the ingredients together until they are well combined.
If you want a less white look, you can add more water to the mixture. For a more white look, you can add less water. Use a test area to see how the whitewash will look before applying it to the entire surface.
If you are using a whitewash solution that you purchased, follow the instructions on the package.
Step 4: Apply the Whitewash to the Brick Surface
Once the solution is mixed, apply it to the brick surface using a brush. Start at the top of the surface and work your way down.
Work in 2′ x 2′ sections. Dip your brush into the whitewash mixture and then apply it to the surface in a back-and-forth motion. Make sure to evenly coat the entire section before moving on to the next one.
While you are applying the whitewash solution or paint make sure to blot up any excess that is pooling on the surface.
To get in between the bricks, you can use a small paintbrush or a toothbrush. If a spot has too much color use a spray bottle filled with water to lightly mist the area and then blot it up with a towel.
Remember brick is a porous material so it will absorb the whitewash. You may need to wait a couple of hours after the first coat for the whitewash solution to dry to see the true color.
If you want a more subtle look, stop here and do not apply a second coat. If you want a more dramatic look, continue on to step five.
Step 5: Apply a Second Coat (Optional)
If you want a more dramatic look, you can apply a second coat of whitewash to the surface.
Follow the same process as before, working in small sections and making sure to evenly coat the entire area.
Let the second coat dry completely before moving on to the next step. Depending on how much whitewash you applied, this could take anywhere from a few hours to overnight.
Step 6: Remove the Tape and Clean Up
Once the whitewash is dry, remove the tape and clean up any paint or whitewash that got on areas that you did not want it to.
You can touch up these areas with a paintbrush or a small roller. Let the paint dry completely before using the area.
Now is also a good time to clean up any drop cloths or tarps that you used to protect your floors and surrounding areas.
Your whitewashed brick project is now complete!