If you are looking for a nutritious and delicious legume to add to your garden, look no further than the pinto bean! Pinto beans are a great source of protein, fiber, and antioxidants. In this article, we will teach you everything you need to know about growing pinto beans. We will cover topics such as different facts about the pinto bean, what to do before planting, how to plant them, and how to harvest them. We will also explain how to store pinto beans after they have been harvested. So, if you are in need of a little gardening inspiration, read on to learn more about growing pinto beans!If your looking for more plants to grow in your garden check out this article on how to grow peppercorns.
Table of Contents
About the Pinto Bean
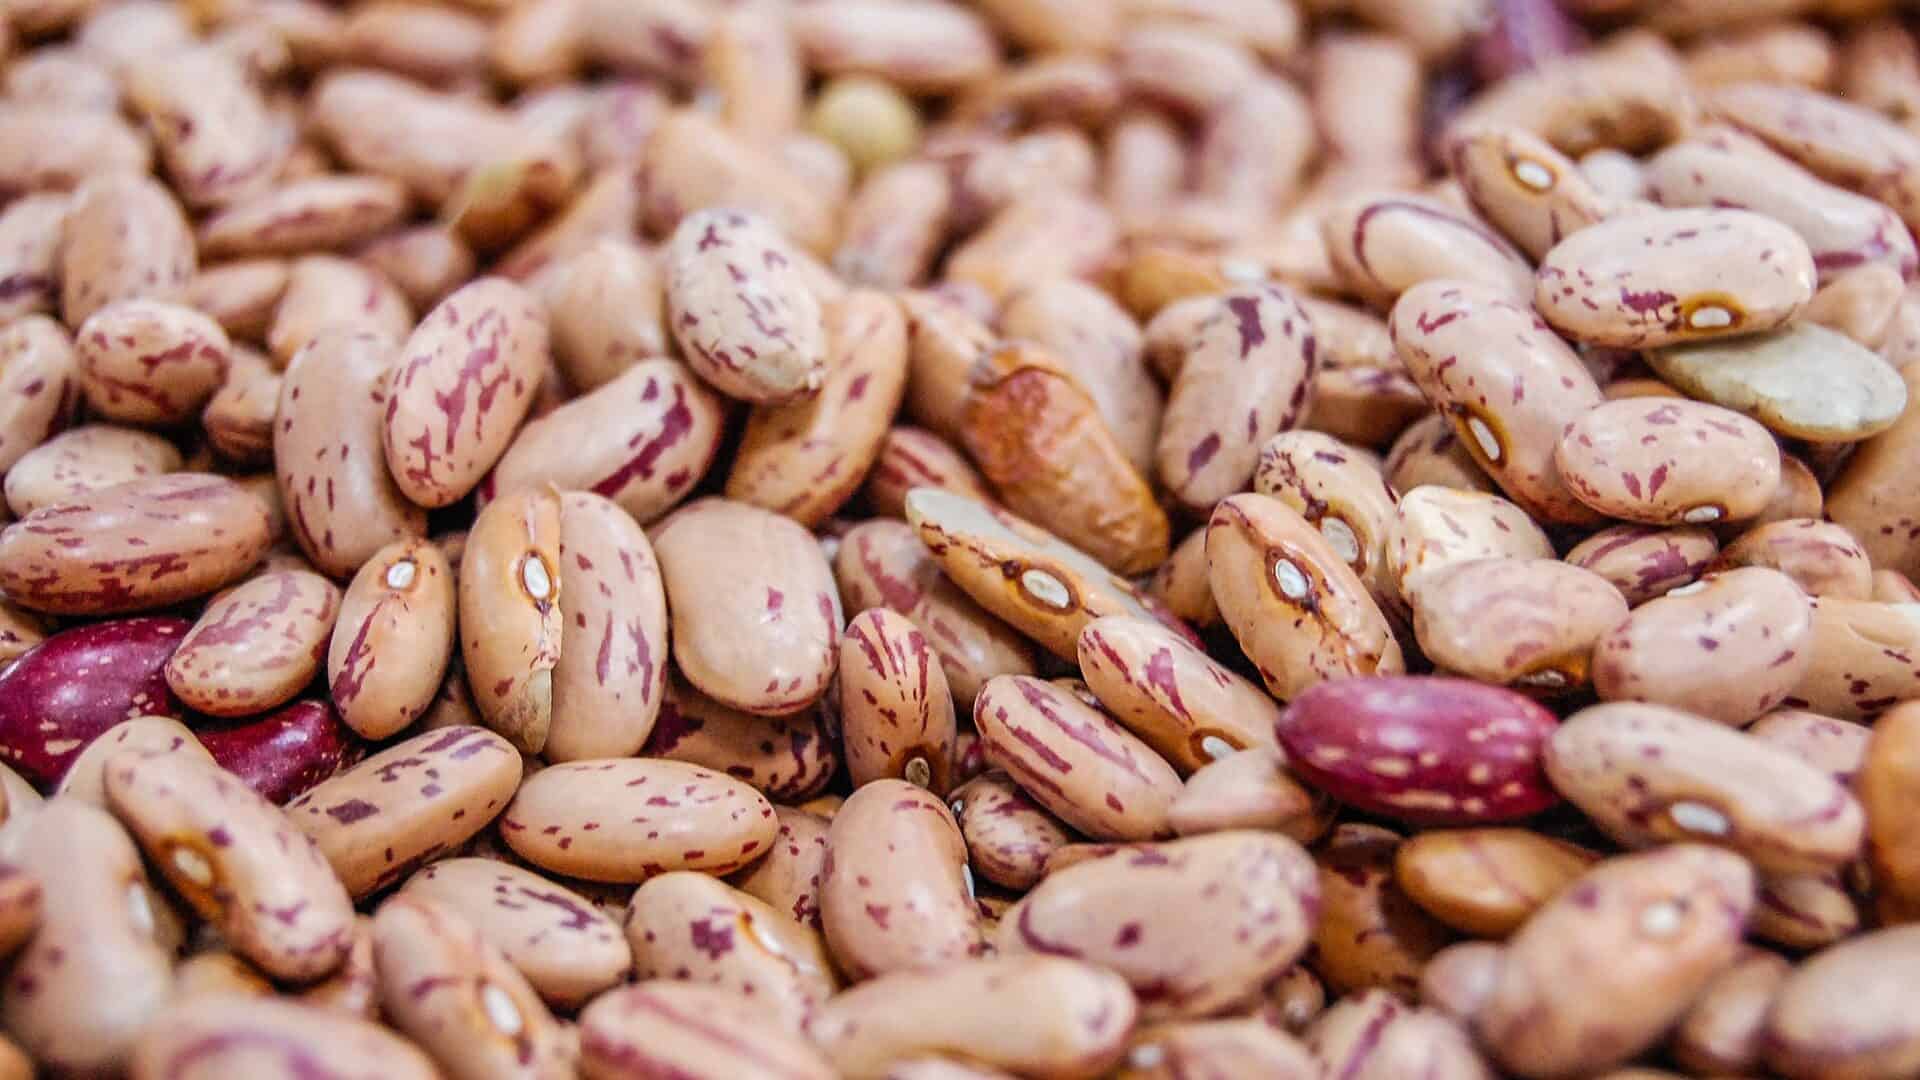
The pinto bean is a type of common bean (Phaseolus vulgaris). Pinto beans are native to Central America and Mexico. They get their name from their unique coloration, which is a mix of brown and red. Pinto beans are a popular ingredient in many cuisines, such as Mexican, Spanish, Southwestern, and Tex-Mex.
Pinto beans are a great source of protein, fiber, and antioxidants. They are also low in fat and calories. One cup of cooked pinto beans contains approximately 15 grams of protein and 13 grams of fiber. Pinto beans are also a good source of iron, potassium, magnesium, and folate. Health benefits associated with eating pinto beans include improved heart health, decreased risk of cancer and obesity, and improved blood sugar control.
The best meals to pair pinto beans with are rice, tacos, enchiladas, burritos, and chili. If you are vegan or vegetarian, pinto beans make a great meat replacement in many dishes. You can also use them as a side dish or add them to salads. To create a complete protein, pair pinto beans with another source of protein, such as quinoa, nuts, or seeds.
What to Do Before Planting Pinto Beans
If you live in an area with a short growing season, you will need to start your pinto beans indoors. Pinto beans should be planted six to eight weeks before the last frost date. Avoid planting the seeds too early, as they will not germinate in cold soil.
Companion plants for pinto beans are corn, potatoes, cucumbers, and summer savory. You should avoid planting pinto beans near fennel, sage, and onions. Pinto beans also prefer full sun and well-drained soil.
The ideal pH range for pinto beans is between six and seven. If you are unsure about the pH of your soil, you can test it with a digital pH meter. To improve drainage, add organic matter to your soil before planting. You can also add a layer of mulch around the plants to help retain moisture and suppress weeds.
Here are some specific Pre-Planting tips to keep in mind:
- Pinto beans should be planted six to eight weeks before the last frost date.
- Start your pinto beans indoors if you live in an area with a short growing season.
- Long summers are best for planting pinto beans
- Pinto beans prefer full sun
- Pinto beans need well-drained soil
- Soak pinto bean seeds overnight before planting to speed up germination.
How to plant pinto beans
Pinto beans can be planted in hills or rows. If you are planting in hills, space the seeds three to four inches apart and plant them two to three inches deep. For rows, space the seeds one to two inches apart and plant them one to two inches deep. Be sure to water the plants regularly, as pinto beans need moist soil to thrive.
Pests and diseases to look out for include aphids, bean beetles, and root rot. To prevent pests and diseases, rotate your crops every year and practice good garden hygiene. If you notice any problems with your plants, consult a local gardening expert for advice on how to proceed.
Things you will need:
- Pinto beans
- Hoe or trowel
- Watering can
- Mulch (optional)
Step-By-Step Instructions:
1. Soak the pinto beans overnight before planting.
2. Plant the beans in hills or rows, spacing them 3 to 4 inches apart.
3. Plant the beans 2 to 3 inches deep.
4. Water the plants regularly.
5. Protect the plants from pests and diseases.
6. Mulch if desired.
Harvesting Pinto Beans
Pinto beans are ready to harvest approximately 60 to 90 days after planting. To check if the beans are ready, open up a pod and see if the beans inside are plump and have turned brown. Once the plants have finished producing beans, cut them back to two inches above ground level and remove them from the garden.
Storing Pinto Beans
Pinto beans can be stored in a cool, dry place for up to six months. To extend their shelf life, you can also freeze or can them. If you are freezing pinto beans, be sure to wash and dry them first. Spread the beans in a single layer on a baking sheet and place them in the freezer for two to three hours. Once they are frozen, transfer the beans to a freezer-safe bag or container.
Pinto beans can also be canned. Start by washing and sorting the beans. Place them in a pot of boiling water and cook for three minutes. Remove the beans from the heat and let them cool in the water for five minutes. Drain the beans and place them in a sterilized jar. Fill the jar with boiling water, leaving one inch of headspace. seal the jar and process it in a hot water bath for 40 minutes.
FAQ’s
Q: What if the setting is deformed or too wet?
A: If the setting is deformed, replant in a different location. If the soil is too wet, wait until it dries out before planting.
Q: What if there are no flowers or pods?
A: Flowers and pods should appear 60 to 90 days after planting. If they do not, check for pests and diseases.
Q: How long do canned pinto beans last?
A: Canned pinto beans will last for up to one year.
Q: Are pinto beans vegan?
A: Yes, pinto beans are vegan.
Q: how many beans can I expect to get from one plant?
A: One pinto bean plant will yield about two pounds of beans.
Q: When should I plant pinto beans?
A: Pinto beans should be planted six to eight weeks before the last frost date. If you live in an area with a short growing season, start your pinto beans indoors. Long summers are best for planting pinto beans.
Q: What is the difference between black and pinto beans?
A: Black beans are smaller and darker in color than pinto beans. Pinto beans have a nutty flavor, while black beans are more earthy. Both types of beans are high in fiber and protein.
Q: What are some common dishes made with pinto beans?
A: Pinto beans are commonly used in Mexican and Tex-Mex dishes such as refried beans, chili, and enchiladas. They can also be used in soups, stews, and salads.
Q: Can I grow pinto beans in containers?
A: Yes, pinto beans can be grown in containers. Be sure to choose a container that is at least 12 inches deep and has drainage holes. Fill the container with a well-draining potting mix and plant the beans two to three inches apart. Water regularly and fertilize monthly.
Q: What are good pinto bean alternatives?
A: Black beans, navy beans, and kidney beans are all good alternatives to pinto beans.
Summary
Pinto beans are a type of legume that can be planted in hills or rows. They need moist soil to thrive and should be watered regularly. Pests and diseases to look out for include aphids, bean beetles, and root rot. If you notice any problems with your plants, consult a local gardening expert for advice on how to proceed. Pinto beans are ready to harvest approximately 60 to 90 days after planting. To check if the beans are ready, open up a pod and see if the beans inside are plump and have turned brown. Once the plants have finished producing beans, cut them back to two inches above ground level and remove them from the garden. Pinto beans can be stored in a cool, dry place for up to six months. That’s it for our guide on how to grow pinto beans! We hope you found it helpful.

